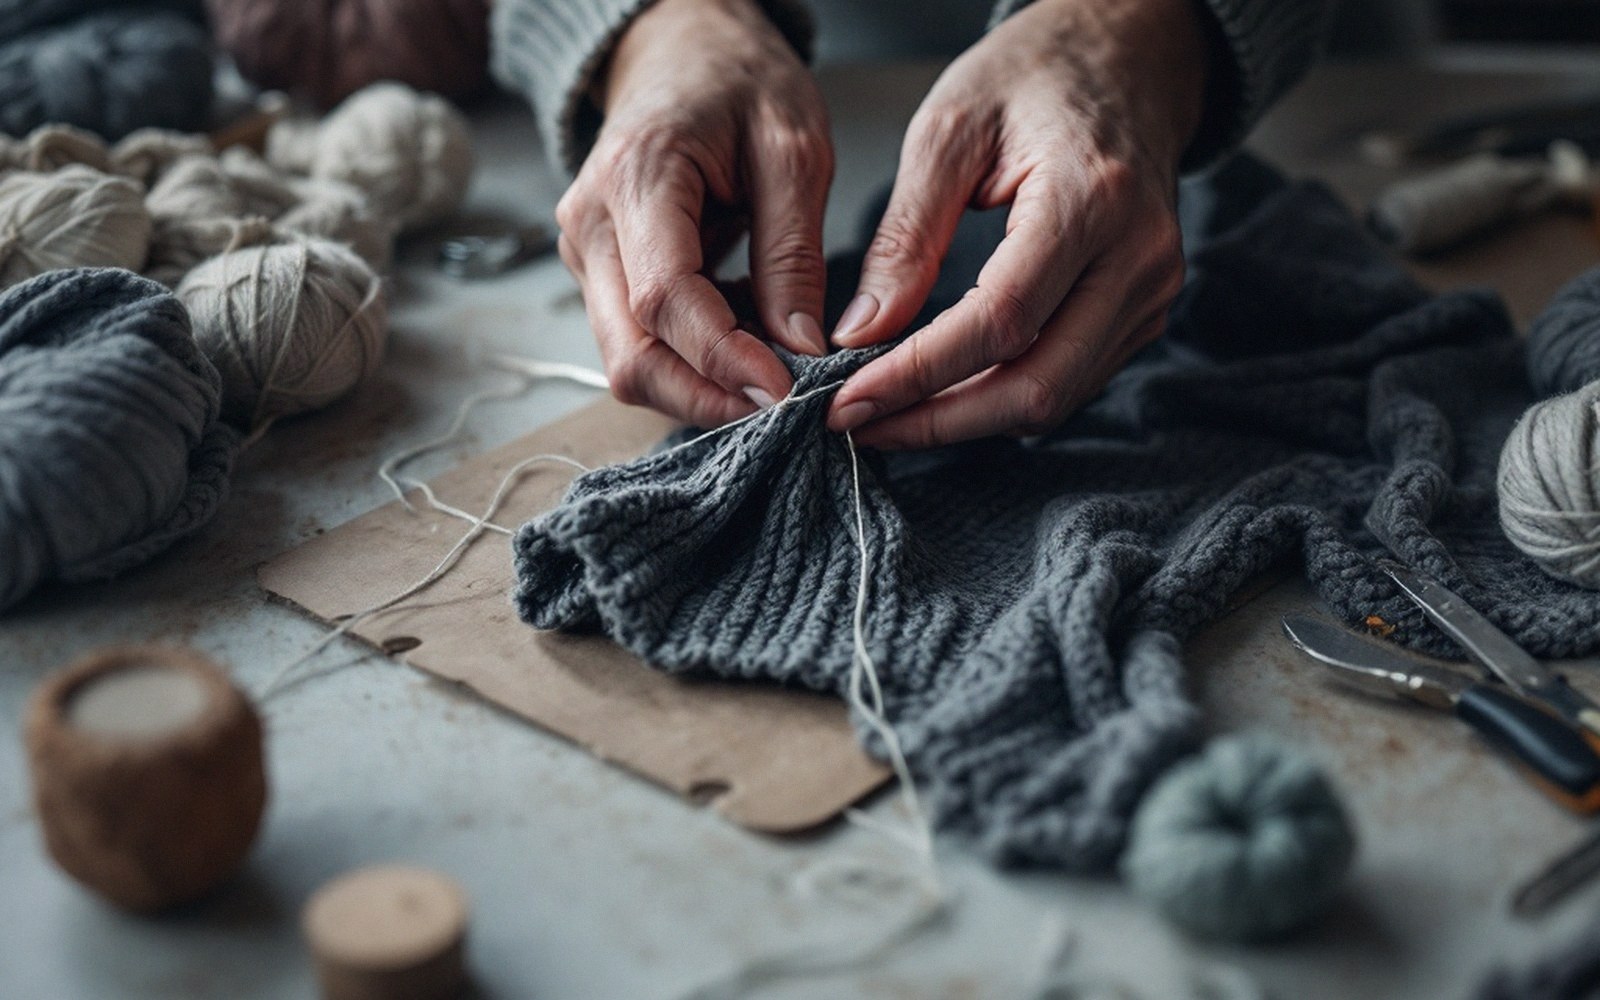
Swiss Darning a Knit: The Repair That Disappears
Duplicate stitch is the one textile repair that can genuinely vanish — if the yarn, needle and tension are right.
What you're doing and why it's different
A hole in woven fabric is a break in the grid — you patch or weave over it. A hole in a knitted fabric is a collapse of interlocking loops, and patching over it flattens the structure and looks wrong. Swiss darning, also called duplicate stitch, takes a different approach: it traces the path of the original yarn with a new one, rebuilding the loop structure from the outside rather than weaving across the gap. Done carefully, the repair sits at exactly the same height as the surrounding fabric. It moves with it. In good light, on a well-matched yarn, it is effectively invisible.
The technique works on stockinette (plain jersey) and any fabric whose surface shows the classic V-shaped knit stitches. It doesn't translate to garter stitch, ribbing, or cables without modification, so check what you have before you start.
Yarn, needle and the matching problem
The repair yarn needs to match the original in three things: fibre, weight and twist direction. Fibre matters for drape and dye behaviour — a wool darn on a cotton jersey will behave differently under washing. Weight is more critical than most people expect: even half a needle-size difference in yarn thickness will make the darn stand proud or sink below the fabric surface. If the garment has a label with a yarn specification, use it. If not, unravel a centimetre of yarn from an inside seam allowance, feel the plies, and match as closely as you can.
Twist direction is the subtlest issue. Most commercial knitting yarn is S-twisted (twisting to the left when held vertically). Using a Z-twisted yarn won't cause structural failure, but the finished stitches catch light slightly differently and betray themselves in raking light. For a repair that genuinely disappears, it matters.
The needle is a blunt tapestry needle, sized to carry the yarn without splitting the surrounding loops as you pass through them. A sharp needle is the wrong tool here — it pierces rather than navigates, and split loops show.
ON THE BENCH · MATERIALS AND METHOD
Working the stitch
Secure the new yarn at the back with two or three small anchoring stitches into the surrounding intact fabric — no knot, which would bulk the repair from behind. Bring the needle up through the base of the first V you mean to cover, the point where two legs of the stitch meet at the bottom.
From there the path mirrors the original stitch exactly: pass the needle horizontally behind the two legs of the stitch above the one you're covering, then back down through the base of the same V where you started. Pull the yarn through. One duplicate stitch is complete.
Move to the next stitch. On a single-colour repair, work left to right across a row, then step up and work right to left on the next — the same logic as knitting itself. On a multi-row repair, maintain this boustrophedon rhythm so the yarn doesn't build up in one direction and distort the fabric.
ON THE BENCH · WHAT TO WATCH FOR
The tension error that wrecks it
Pulling too tight is the most common mistake that ruins Swiss darning. The repair puckers, the surrounding stitches compress, and the darn becomes a visible depression in the fabric. The correct tension feels almost slack — the duplicate yarn should sit on top of the original stitch, replicating its height, not pulling it down. A useful check: lay the work flat periodically and look across the surface at a low angle. Any pucker shows immediately in that light. If you see one, ease the last few stitches back and re-lay them with less tension.
The opposite error — leaving the yarn too loose — creates loops that snag. The target is the yarn lying exactly as the original did: neither compressed nor looping.
A completed row should be indistinguishable in height from its neighbours when you lay the fabric on a flat surface and look across it.
Finishing and washing
End the yarn the same way you started: small anchoring stitches into intact fabric at the back, no knot, tails trimmed to around a centimetre. Then wash the garment by hand in cool water before assessing the result. Yarns bloom slightly when wet, which closes any remaining gaps between the duplicate stitches and beds the repair into the surrounding fabric. Some repairs that look slightly open before washing become genuinely seamless after it.
If the match isn't perfect — a marginal difference in dye lot or twist — wet finishing closes the gap further than any amount of careful dry placement can.